Posted on Friday, 5th August 2011 by Grace
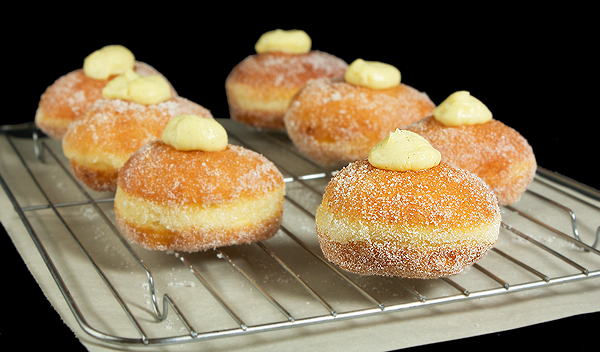
Bomboloni, fluffy pillows of rich and tender fried pastry dough rolled in sugar and filled with velvety Crema Pasticcera {Italian Pastry Cream}, fresh and warm out of the oven. Have I enticed you to indulge? One thing’s for certain – one Bombolone is never enough.
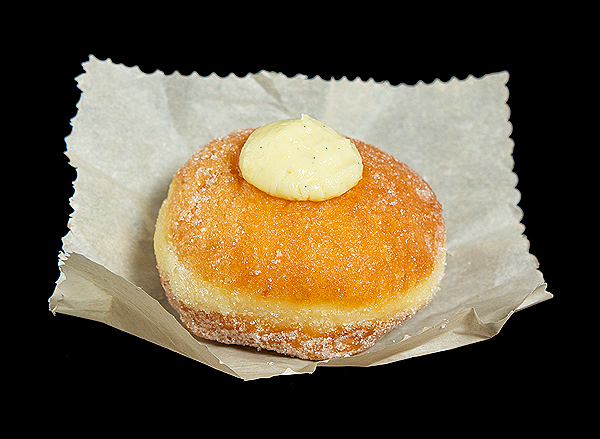
How did I achieve a puffy bombolone? – Patience, a little elbow grease and a “whole lotta love”.
I was on a mission to get an answer to that very question, “Which preparation produces a puffier, lighter and tastier bombolone? – “By hand?” or “Stand mixer?” After performing a taste test ”by hand” won by a landslide.
It really comes as no surprise, I’m sure Italian Mamas and Nonnas from the old country (mine included) never used a stand mixer to prepare their dough. To quote my Mom, “passion, love, touch and feel and most importantly patience makes tender dough”.
The bomboloni dough is very sticky and I found when preparing the dough using a stand mixer I needed to add flour more than once to get the dough to come together into a ball so the mixer could properly knead the dough. Unfortunately the more flour you add the heavier the bombolone.
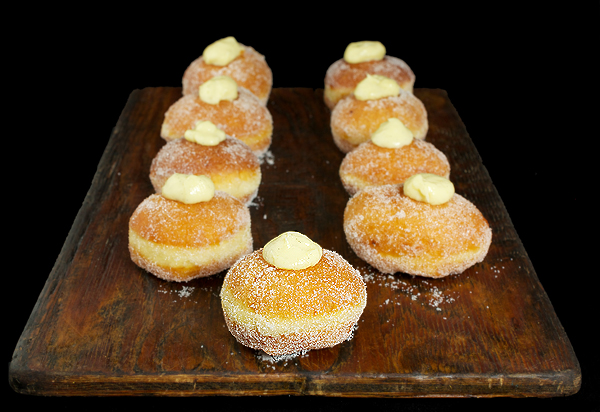
Preparing the dough “by hand” gives you more control, you can feel the dough and often times it only needs a light dusting of flour to knead to a soft dough therefore producing a fluffier bombolone.
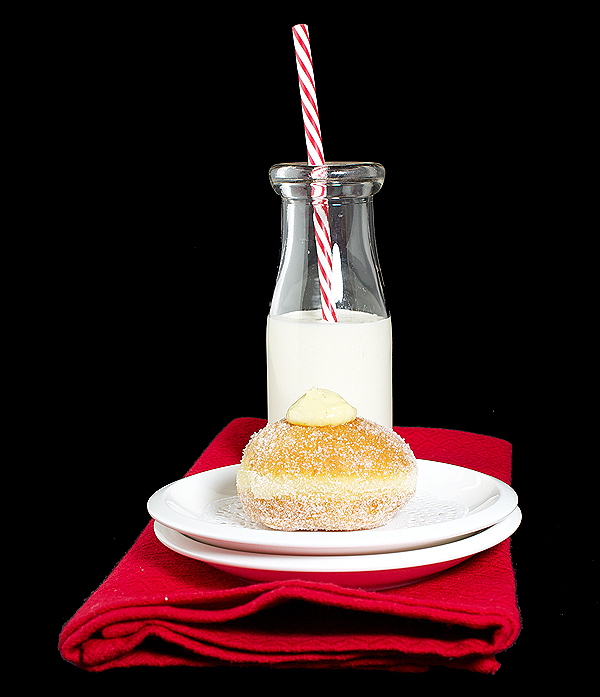
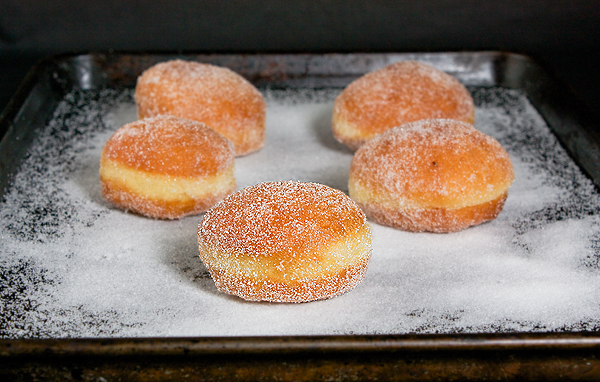
Bomboloni have a distinct look, golden on both sides with a band lighter in colour in between. Achieving this look can be a little more difficult than you think; a bombolone has a mind of its own.
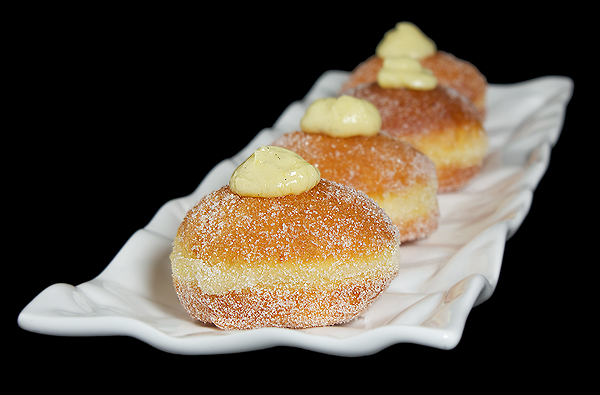
It increases in size as it’s cooking, sometimes more so on one side than the other. The mystery for me, how is it possible to use the same size cutter for all of your bombolone yet after frying none of them are the same size?
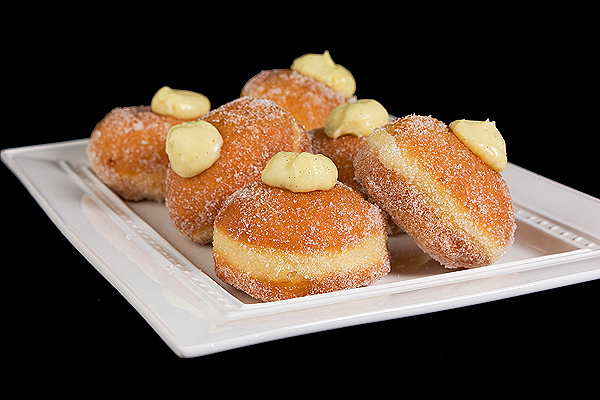
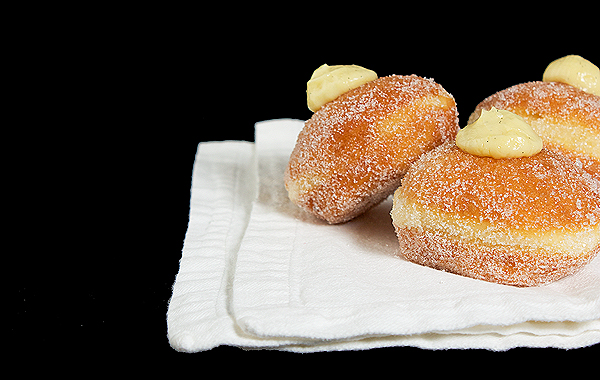
Bomboloni are sometimes referred to as Krapfen but there is a visible difference between the two. How do you distinguish between a Bombolone and a Krapfen? A Bombolone is filled from the top rather than the side and the filling is visible. What a tease for Crema lovers like me.
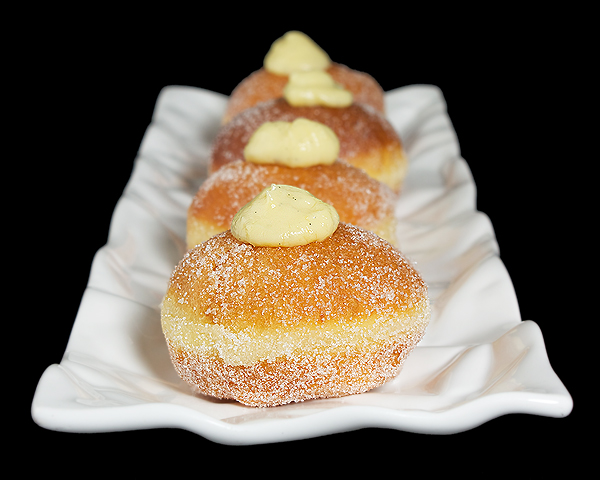
Bomboloni are not only filled with cream, they are just as mouthwatering filled with jam or one of my favourites, chocolate.
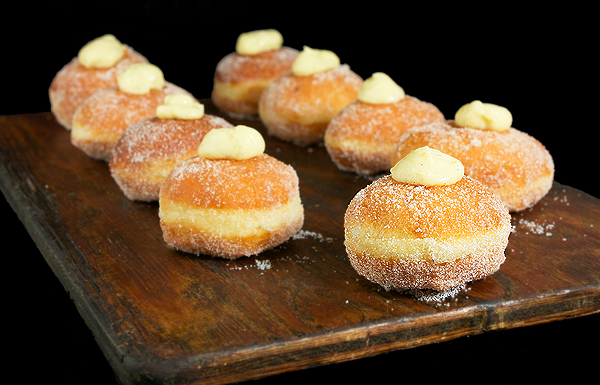
Like any donut Bomboloni are best enjoyed on the day they are made. Very rarely an issue for us, we love donuts!
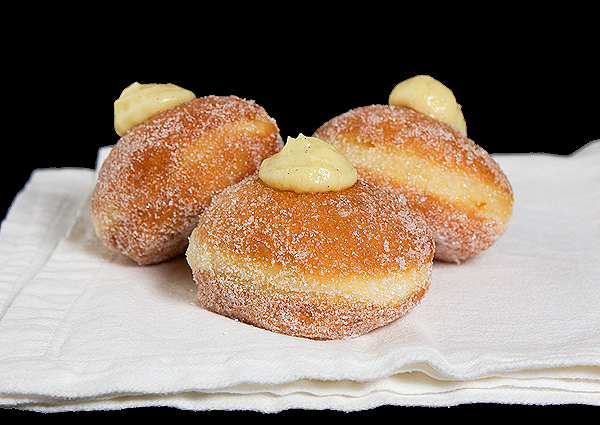
Bomboloni alla Crema – Krapfen {Italian Cream-Filled Donuts}
Makes 28 to 32 donuts using a 7-cm (2¾-inch) cutter
- Bomboloni, Krapfen {Italian Cream-Filled Donuts}
- Crema Pasticcera {Italian Pastry Cream}
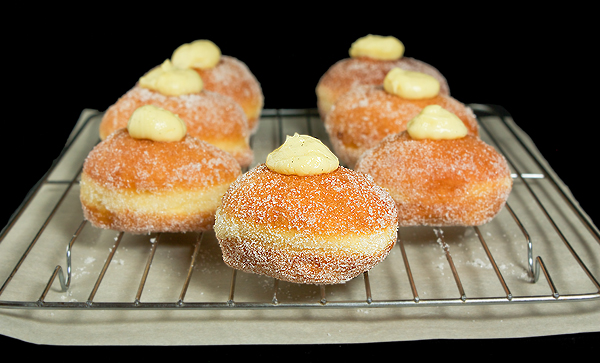
Bomboloni alla Crema – Krapfen {Italian Cream-Filled Donuts}
**Special Note - I prepare this dough the old fashioned way – by hand with a little love and passion thrown in. If you prefer you could prepare the dough using a stand mixer but I find this method of preparation quite difficult and frustrating. The dough is very sticky and I find throughout the process even with the help of a rubber scraper getting the dough to release from the sides of the bowl is extremely difficult (forget the love and passion it’s replaced with more than a few choice words in frustration). After quite a bit of prodding it does finally work but the results from preparing the dough by hand in my opinion is far superior. My results are always tender dough, which produces a lighter, fluffier bombolone. Keep in mind preparing by hand is a lengthy process (kneading 10 to 15 minutes) – click on the music, get lost in 5 of your favourite songs and before you know it you’ll have the most amazing dough! In fact, this time, I prepared the dough both ways and had a taste testing; the bombolone prepared by hand was the bombolone of choice.
- 250 g (2 cups) bread flour
- 250 g (2 cups) Italian “00″ (doppio zero) flour or plain (all-purpose) flour
- 50 g (about ¼-cup) caster (superfine granules) sugar
- 8 g (1 package) instant yeast or 25 g fresh yeast
- Seeds from 1 vanilla bean
- Zest of 1 orange or zest of 1 lemon (I prefer orange-you could also use a combination of orange and lemon)
- Pinch of salt
- 250 ml (about 8½ ounces) warm milk, temperature between 40°C and 43°C (105° F and 110° F)
- 3 large eggs
- 50 g (3½-tablespoons) unsalted butter, cut into 4 pieces, softened
- Vegetable spray
- Vegetable or canola oil, for frying
- Caster (superfine granules) sugar, extra, for rolling
- Place flours, sugar, instant yeast, vanilla bean seeds, zest of your choice and salt in a large bowl. Using a large whisk, whisk to well combine.
- Make a well in the centre; pour in the warm milk. Work together the milk and the dry ingredients with the tips of your fingers.
- Add the eggs all at once; work together the ingredients until you have a rough ball of dough.
- Gradually add the butter, one-piece-at-a-time, working each piece of butter into the dough before adding the next.
- Transfer dough to a clean, lightly floured work surface; knead until smooth and elastic (not sticky), 10 to 15 minutes.
- Transfer dough back to the large bowl; cover with a sheet of plastic wrap and leave to rise in a warm place, 1½ to 2 hours.
- When the dough has doubled in volume, transfer to a clean, floured work surface.
- Roll the dough out to a thickness of about 1 cm (a little less than ½-inch); using a cookie cutter or glass cut out rounds about 7-cm to 7½-cm (2¾-inch to 3-inch) in diameter (keep the cuts as close together as possible). (Gather up the leftover pieces, give a quick knead to bring the pieces together, return dough to the bowl, cover and leave to rise in a warm place until double in volume, about ½-hour and proceed to roll out and cut out rounds. At this point if you have any remaining dough, gather together re-roll and cut rounds until all of the dough has been used.)
- Place the rounds on a parchment lined baking sheet lightly sprayed with vegetable spray, cover with a sheet of plastic wrap and leave to rise in a warm place until doubled in volume (they should appear full of air), 1½ to 2 hours. (I find it much easier to remove the rounds from the parchment paper when I lightly coat the parchment with vegetable spray opposed to flouring the parchment sheet. I also used a 3-inch deep baking pan instead of a baking sheet to place my rounds in to rise, this ensures the tops of my bomboloni will not stick to the plastic wrap.)
- Heat oil in a 6-litre/quart heavy-bottomed saucepan over medium heat to between 160° C and 170° C (320° F and 340° F), about 20 minutes. (Check your oil frequently while frying bomboloni to maintain these temperatures. If you have a thermometer attach to the saucepan to monitor the temperature of the oil.)
- Prepare 2 large plates for draining and rolling of bomboloni. Layer one plate with 3 to 4 sheets of paper towel for draining, and the other plate with a thin layer of caster sugar, for rolling, set-aside until ready to use.
- Fry four to six bombolone at-a-time to ensure even frying. Fry until golden on both sides, 3 to 5 minutes. (Bomboloni should be golden on both sides creating a distinct line lighter in colour in between – can be difficult at times to achieve because the bomboloni have a mind of their own and they puff up while cooking, sometimes more on one side than the other.) Remove bombolone, one-at-a-time, with a spider skimmer or slotted spoon, drain on paper towels and immediately roll in caster sugar until evenly coated.
- While bomboloni are still warm fill with Crema Pasticcera (Italian pastry cream). To fill bomboloni, transfer Crema Pasticcera to a large pastry bag fitted with a ½-cm to 1-cm (¼-inch to ½-inch) plain round tip. Use a sharp paring knife to make a small hole (in the centre) on the top of each bombolone. Insert pastry tip into the hole of the bombolone and pipe crema until the bombolone feels heavy; continue to fill until you have a mound of pastry cream visual on the top of the bombolone.
- Bomboloni are best enjoyed on the day they are made. Serve immediately.
- Buon Appetito!
Crema Pasticcera {Italian Pastry Cream}
**Please follow recipe below but reduce sugar to 150 g (½-cup + 2 tablespoons).
Related posts:
- Cannoncini alla Crema Pasticcera (Pastry Horns with Italian Pastry Cream)
- Pesche Dolci {Italian Peach Cookies}
- Lemon Meringue Tarts-Tartellette alla Crema di Limone e Meringa All’Italiana
- Boston Cream Donuts
- Cannoncini di Sfoglia con Crema Pasticcera al Cioccolato
Tags: after school treat, afternoon tea, breakfast, brunch, cookies, crema pasticcera, creme patissiere, dessert, desserts, donuts, doughnuts, food, food photography, food photos, individual dessert, individual desserts, Italian dessert, Italian desserts, Italian Pastries, Italian pastry, Italian sweet, Italian sweets, mini desserts, pastries, pastry cream, sweets
Posted in Baking & Pastry, Baking Mise en Place, Custards, Creams & Mousses, Fillings, Frostings & Dessert Sauces, Pastry Doughs & Batter, Recipes, Yeast Breads & Pizza Dough
Comments (36)
 Subscribe


August 5th, 2011 at 4:39 pm
these are STUNNINGLY beautiful! perfect and impressive – well done.
August 5th, 2011 at 4:49 pm
These look incredible. They remind me of Boston Cream Donuts, except obviously more elegant. Great job!
August 5th, 2011 at 4:56 pm
My husband would weep tears of joy and give me diamonds if I made these for him. I do so love diamonds. Will give these a shot!
August 5th, 2011 at 4:58 pm
Oh Paula you are so funny!
August 5th, 2011 at 4:58 pm
Thanks Evan!
August 5th, 2011 at 5:45 pm
I agree, one would never be enough. Those look so nice and sugary and soft!
August 5th, 2011 at 6:08 pm
Are you sure about the temperature of warm milk in Celsius ? Over 200° C seems to be a little too hot
August 5th, 2011 at 7:38 pm
Thanks for catching my mistake, put the temp number in the wrong box of my calculator.
August 5th, 2011 at 9:24 pm
oh my goodness what I would do for one of these tonight! Looks so delicious! Your pictures always make me hungry!!
August 5th, 2011 at 10:12 pm
How do you not gain weight with all these amazing desserts around?
August 6th, 2011 at 8:10 am
These look like they are worth all the effort! They look better than any store-bought donut I’ve ever had.
August 6th, 2011 at 8:35 am
Sandra because of my meds I was extremely thin for a long while and it didn’t matter what I ate I couldn’t gain an ounce, thankfully in the last year I’ve finally put on a few pounds but believe it or not not as much as I would like, I think I just have fast metabolism.
August 6th, 2011 at 3:04 pm
Incredibly gorgeous, Grace. I love my standmixer but I can understand how a light touch is needed for these!
August 6th, 2011 at 5:58 pm
Approximately how many does this recipe make? They look to die for…
August 6th, 2011 at 7:00 pm
Carrie I must have been half asleep when I was posting the recipe, first I listed the milk at I think it was 200 degrees celsius and now I’ve forgotten the yield. One batch makes between 28 and 32, the kids started eating before I counted, both times.
August 6th, 2011 at 9:22 pm
So brilliantly prepared! I love the way it’s fried. A must for me to have one of these.
August 6th, 2011 at 11:26 pm
WOW WOW! I must make these soon. They look amazing and challenging. I love that! What fantastic photos!
August 9th, 2011 at 12:13 am
Those are quite beautiful. I haven’t had a real cream-filled donut in years–looks like a labor of love, but worth it!
August 9th, 2011 at 1:06 pm
These look quite hard to make, but I’m up to the challenge. I think I’ll try making these this weekend
August 9th, 2011 at 1:14 pm
Oooh my don’t those look beautiful.
August 9th, 2011 at 10:53 pm
A few steps Sharanya but really not that difficult to make, most important thing to watch out for, don’t roll out the dough too thin. I usually roll it out a bit to get it started and then pat down with my hands, this helps a great deal. Let me know ahead of time when you plan on making and I will make sure I am available to answer any questions.
August 10th, 2011 at 6:46 am
Thank you so much! I will definitely let you know if I need help. I just realized that we don’t get bread flour here in India. Any substitute I could use?
August 10th, 2011 at 8:24 am
Mmmm I love these… they are so dangerous! The pastry cream on top is so cute too – love your photos!
August 10th, 2011 at 1:03 pm
Sharanya your flour may be termed differently I know in Italy it is referred to as Manitoba Flour, you are looking for a flour that contains a little higher gluten 13% to 14% and it also contains a small amount of malted barley flour which helps the yeast work. If you can’t find anything that resembles this you can go ahead and use all-purpose flour.
August 11th, 2011 at 9:47 am
I’ve been on vacation so just now catching up and I see I’ve missed some good stuff on your site…including these bombolonis. Can I just say it? These Bombolonis…are the bomb!
August 14th, 2011 at 1:43 am
oh my goodness Grace. These bomboloni look amazing. Love your mother saying “passion, love, touch and feel and most importantly patience makes tender dough” so so true.
August 14th, 2011 at 1:58 am
These doughnuts look delicious! I wanted to bite right into the screen!
August 17th, 2011 at 5:37 pm
What can I use as a substitute for vanilla beans? I can’t find them anywhere.
August 17th, 2011 at 10:01 pm
I feel your pain Karly, Costco used to carry them for a fabulous price here in Canada 10 beans for about $11. I went the other day because I ran out and they no longer carry them. I’ve been struggling to find them too and when I do they are about $7 for 2. I think I’ve found a really good supplier on Ebay. My brother is coming in from the US in September for my niece’s wedding and I am going to ask him to check his local Costco, if they have them there I am going to ask him to buy me about 100 beans – lol. You can substitute the beans with pure vanilla extract, when making the dough add the vanilla with the eggs, and you can also use the extract in the crema, 1 teaspoon for the dough and then 1 teaspoon for the crema.
August 21st, 2011 at 12:32 pm
They look fabulous! I am going to give them a try today, even though i have never fried anything. Ever.
For the vanilla beans in Canada, have you tried Bulk Barn? They usually have them by the cash, next to the saffron. I can’t remember the exact price but i think it was about 5$ for two.
August 21st, 2011 at 2:16 pm
I’ve checked the bulk barn but not at cash, I assumed when I didn’t see them by the vanilla extract they didn’t carry them. They must keep the good stuff hidden. Will have to take a trip. I was cleaning out my baking cupboard yesterday and I found 2 hidden tubes, I couldn’t believe it, I’ve never been so excited about a baking item before – lol. hanks for the tip!
August 28th, 2011 at 5:17 pm
I love this. My uncle had a pastry shop in Queens when I was a kid and this really takes me back. Beautiful photos. Thanks for adding me to your blog circle!
August 30th, 2011 at 3:01 pm
Looks delicious!!
September 2nd, 2011 at 2:59 am
This recipe takes me straight to italy where we used to spend every summer when I was a child. So pleased to find a recipe for crema pasticceria so I can now make my own – I love the slightly greasy crumble of sugar against smooth cream as you bite into them. Yum!
September 2nd, 2011 at 6:20 am
I love that as well. I am so envious summers in Italy I would love that. My parents came to Canada to give us children a better life because at the time it was so difficult to get ahead, in so many ways I wish they hadn’t. I love Europe the life style everything about it.
September 14th, 2011 at 9:04 am
[...] La Mia Vita Dolce is in fact living one sweet life with blogger Grace's recipe for these pillowy, cream-filled Bomboloni. From the heart of Italia to our kitchens, these authentic pastries mix old world quality with modern class. Pair with a nice frothy cappuccino for the ultimate indulgence. [...]