Posted on Thursday, 3rd June 2010 by Grace
What a week, crazy busy, V’s bridal shower is fast approaching, a little over a week to go. We are down to all the last minute details. I’ll be busy baking in the kitchen for the next 10 days. I plan to bake the Orange Cupcakes and Deep-Chocolate Brownie Cupcakes tomorrow and freeze them until the night before when I will frost and decorate them.
I am going to bake the Blackberry Financiers over the weekend and freeze them as well. I’ve decided to use the proper molds when baking them this time, they will look much prettier on the cookie trays.
I’m also going to tackle the Pasteis de Nata (Portuguese custard tarts) over the weekend. I’ve been trying to find the perfect recipe but I am at a bit of a disadvantage because I’ve never made them before. If anyone has a recipe they’d like to share it would be most appreciated.
With being so busy in the kitchen this week I didn’t do my proper food shopping for the week and Matt was so disappointed we ran out of ice cream. Matt loves ice cream and he loves milkshakes. I actually bought him his own milkshake blender last year. He’s quite creative and comes up with some pretty delicious shakes.
He asked why I never make ice cream, I really didn’t have a good answer. I bought a KitchenAid Ice Cream attachment last year, put it on a shelf in my storage room and completely forgot all about it. Mint Chocolate Chip is one of his favourite flavours and I decided it was about time that I churned my first tub of ice cream.
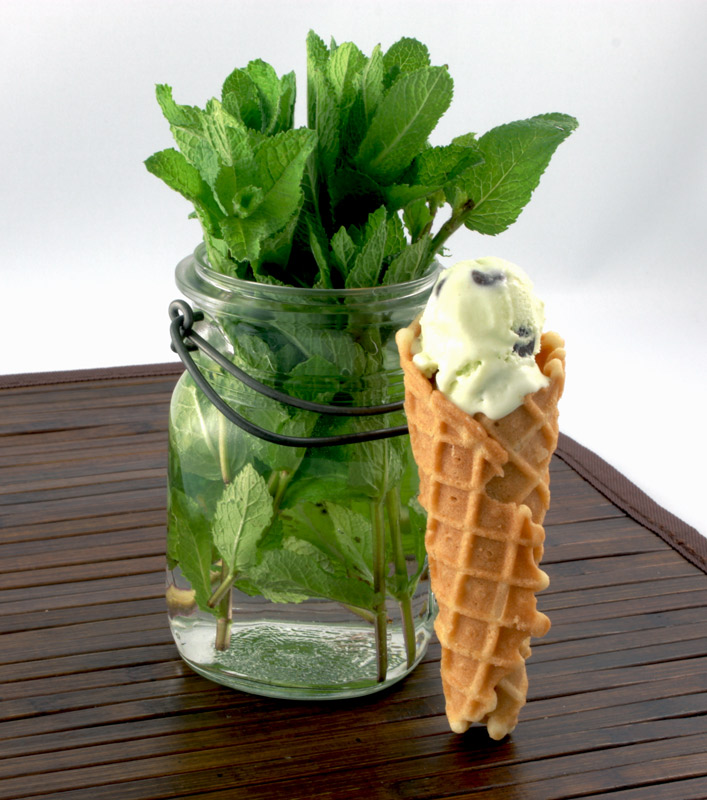
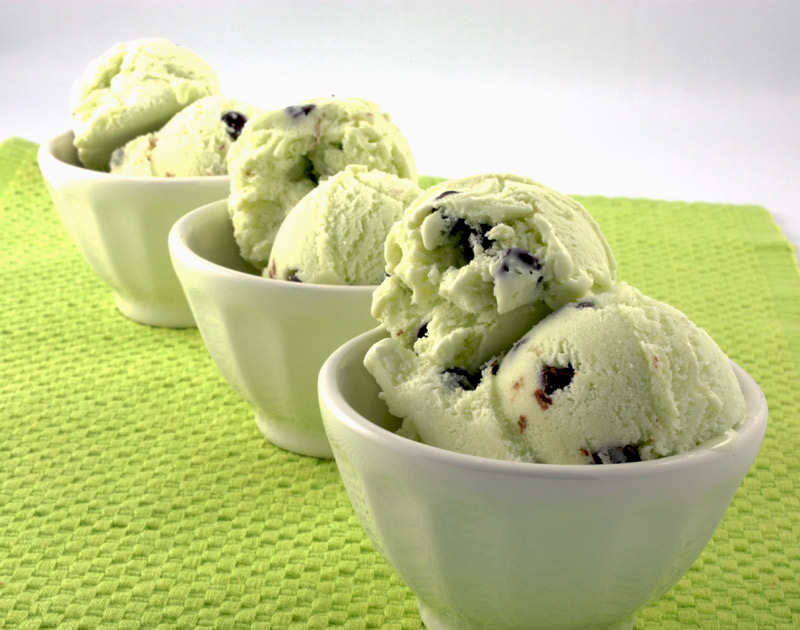
I couldn’t believe how many different recipes there were to choose from. I spotted Isaac Mizrahi’s recipe for Mint Chocolate Chip on the Epicurious website and decided to try it since he used fresh mint and I had quite a bit on hand. Apparently Isaac and Matt share the same love for Mint Chocolate Chip.
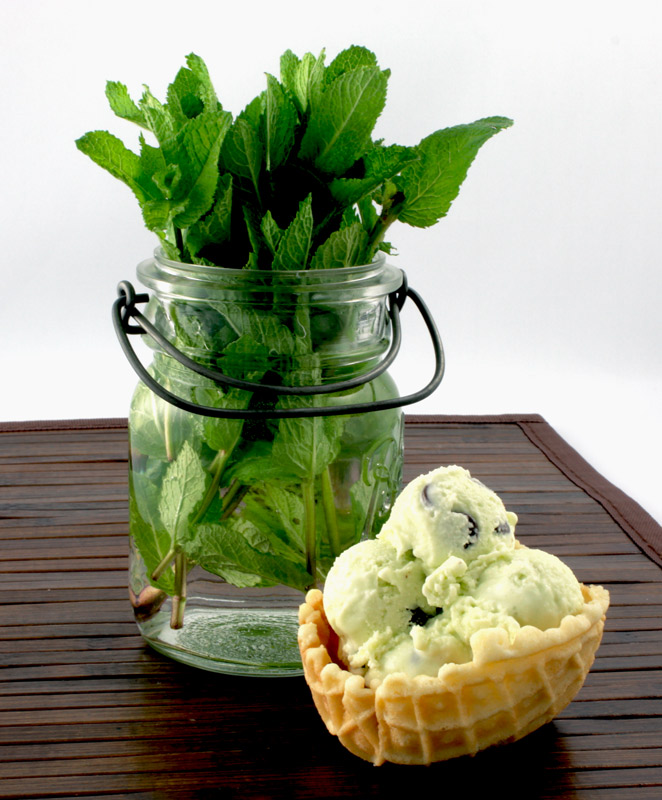
What a fantastic recipe, it was so creamy and delicious and I don’t even like Mint Chocolate Chip. I couldn’t believe how easy it was to make ice cream and I will be making a lot more in the future. In fact I have a tub of Ben & Jerry’s chocolate in the fridge almost ready to be churned. Of course Chocolate is my most favourite flavour with butter pecan and maple walnut not too far behind. Liana has already asked for her favourite flavours Cotton Candy and the Birthday Cake flavour from Marble Slab.
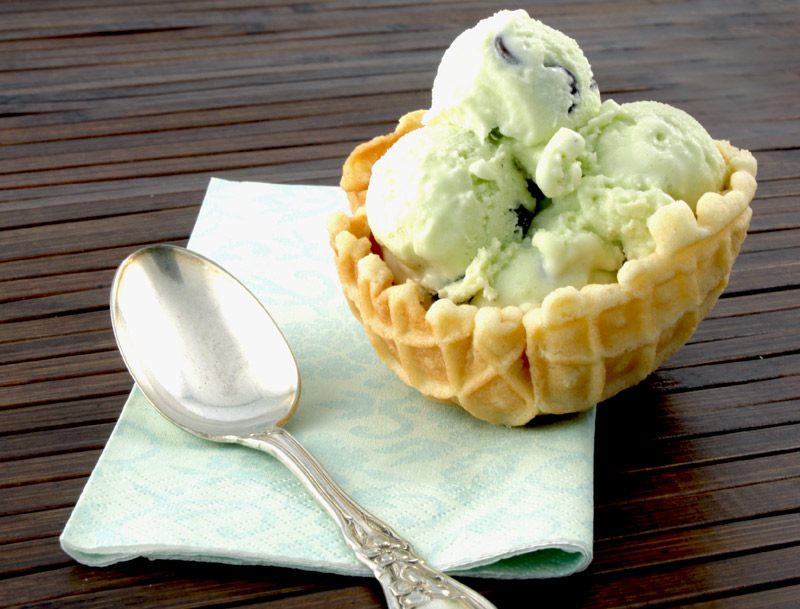
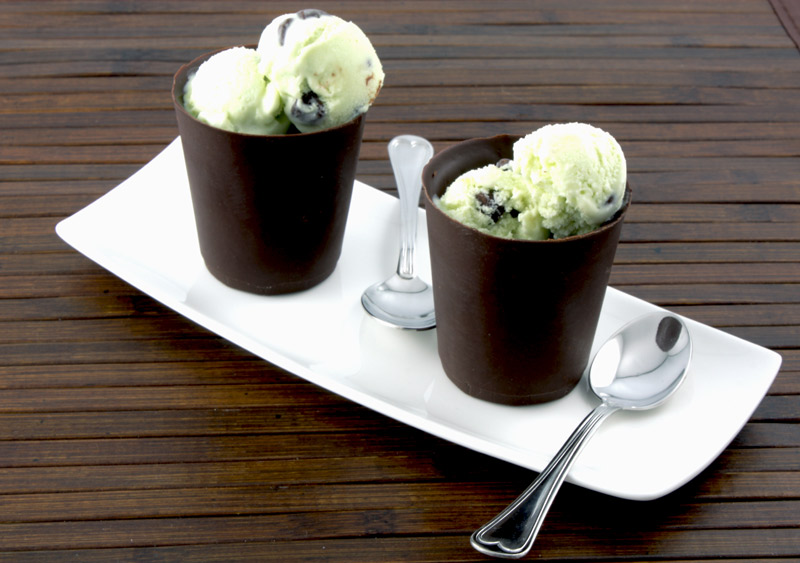
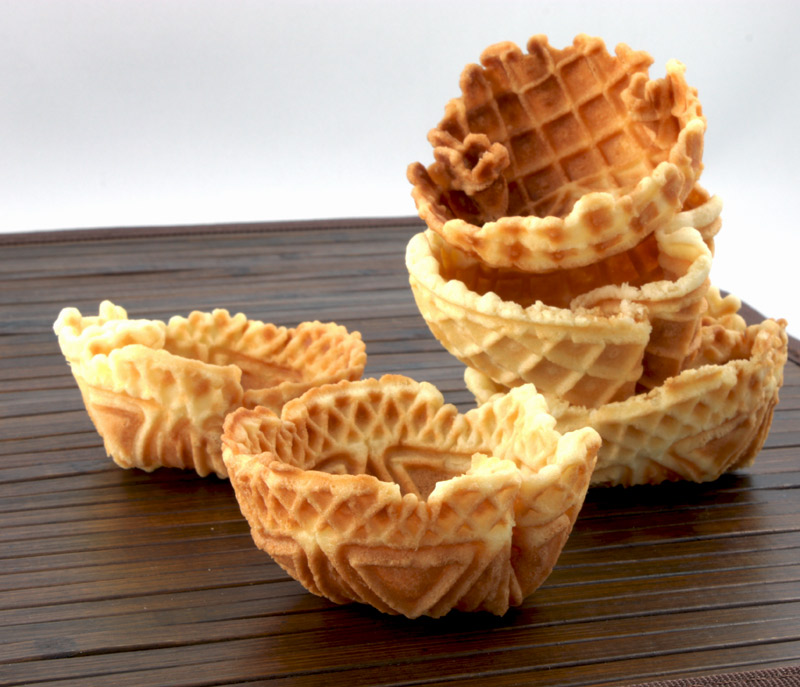
I wanted to add a little something extra special to my first batch of ice cream and decided on edible containers. Of course the first thing that came to mind was waffle cones and waffle cups and when I noticed the chocolate cups in the Le Cordon Bleu Dessert Techniques book I couldn’t pass them by. These little extra touches takes a simple dessert like ice cream to another level.
What have I started?!
Mint Chocolate Chip Ice Cream
(, Recipe by )
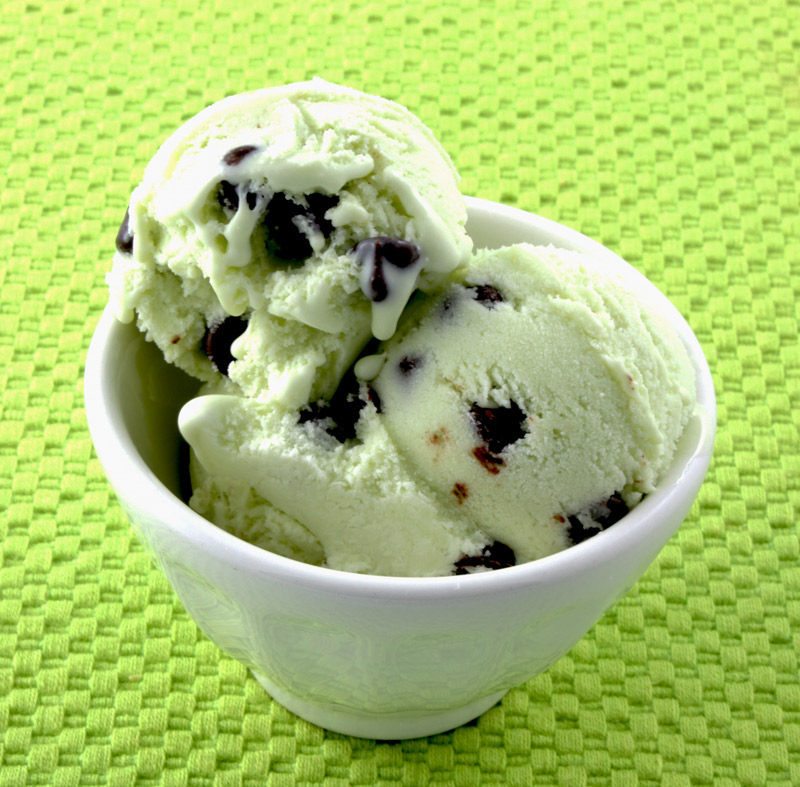
Makes about 1 1/2 quarts
*Special Equipment: Ice Cream Maker
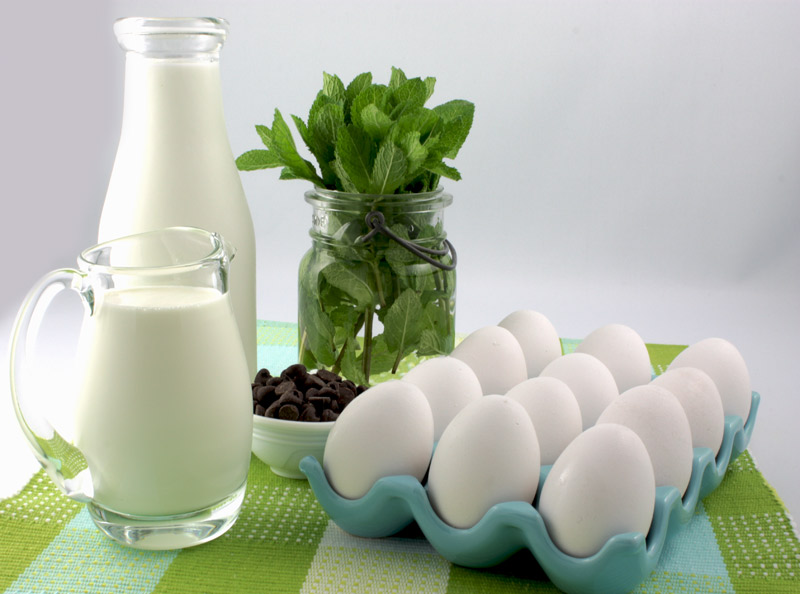
- 6 large egg yolks
- 3/4 cup sugar
- 2 cups whole milk
- 2 cups fresh mint leaves, loosely packed
- 1 cup heavy cream
- 3 drops green food colouring
- 4 ounces bittersweet chocolate, coarsely chopped
- 4 ounces semi-sweet chocolate, coarsely chopped
- Whisk together egg yolks and 1/2 cup sugar in a large bowl.
- Place milk, the remaining 1/4 cup sugar, and the mint leaves (make sure mint leaves are completely dry) in a heavy medium sized saucepan. Stir over low heat until steaming but not boiling, remove from heat.
- Slowly pour 1/2 cup of the hot milk mixture into egg yolk mixture, whisking constantly to prevent eggs from cooking, then slowly stir the egg mixture back into the hot milk, whisking constantly.
- Place over low heat, and cook, stirring constantly, until mixture thickens enough to coat back of spoon (finger drawn across spoon will leave clear path), 5 to 6 minutes total (do not let boil or custard will curdle).
- Into a large bowl, strain mixture through a fine-mesh sieve, pressing on and then discarding solids.
- Whisk in heavy cream and food colouring.
- Cover and chill until the mixture is cold for at least 6 hours or overnight.
- Process custard in the ice cream maker for 20 to 30 minutes, adding chopped chocolate during the last minute of churning.
- Transfer to airtight container and freeze until hard, about 3 hours.
Alice’s Ice Cream Cones
(- Recipe by )
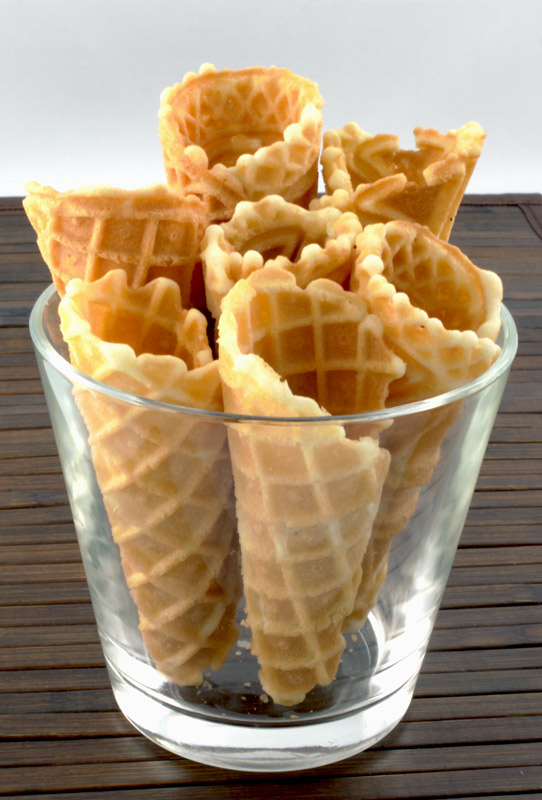
Makes 12 cones
- 2 large egg whites
- 1 pinch of salt
- 3/4 cup sifted confectioners’ sugar
- 1/4 teaspoon pure vanilla extract
- 1/2 cup sifted all-purpose flour
- 1/4 cup (1/2 stick) unsalted butter, melted, plus more for iron
- Heat a krumkake iron (I used a pizzelle iron).
- In a medium bowl, beat egg whites until they resemble soft peaks. Add salt, 1 tablespoon confectioners’ sugar, and vanilla. Continue to whisk until stiff peaks form. Fold in remaining confectioners’ sugar. When fully incorporated, fold in the flour and melted butter.
- Brush krumkake iron (pizzelle iron) with butter. Pour about 1 tablespoon batter into iron. Close, and as soon as the steam subsides, check for doneness (they should be golden brown). Immediately remove, and roll around a cornet mold. Let cool for 1 minute, and remove from mold; set aside. The cones may be stored in an airtight container at room temperature for up to 2 days.
Waffle Bowls
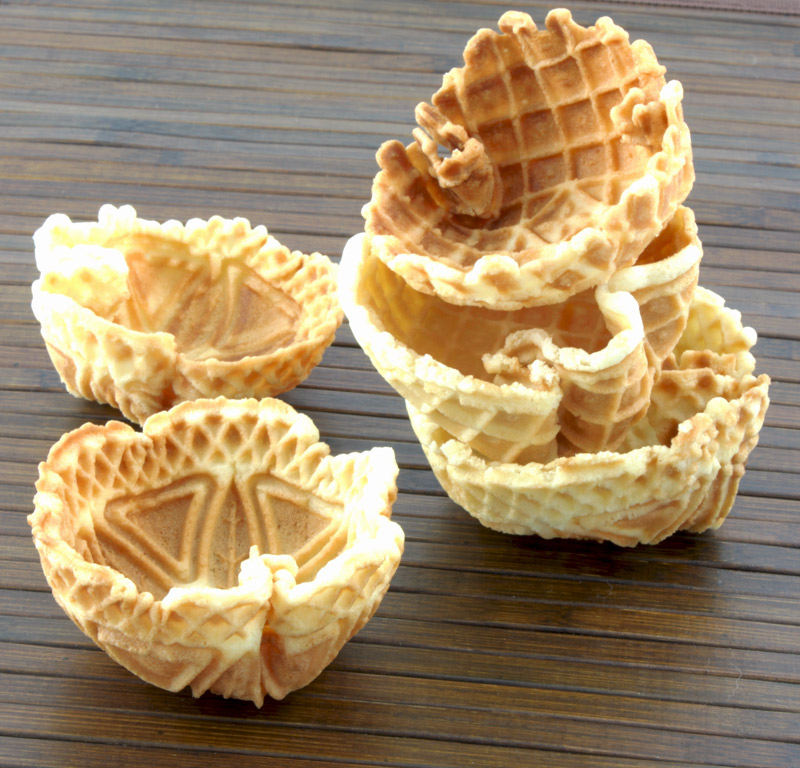
- Follow recipe for Alice’s Ice Cream Cones
- Instead of pouring 1 tablespoon of batter into iron use 2 tablespoons.
- Using a large muffin cup pan, centre waffle over cup and using a , press waffle gently into cup. Let cool for 1 minute and remove from muffin cup.
Chocolate Cups
(Le Cordon Bleu Dessert Techniques)
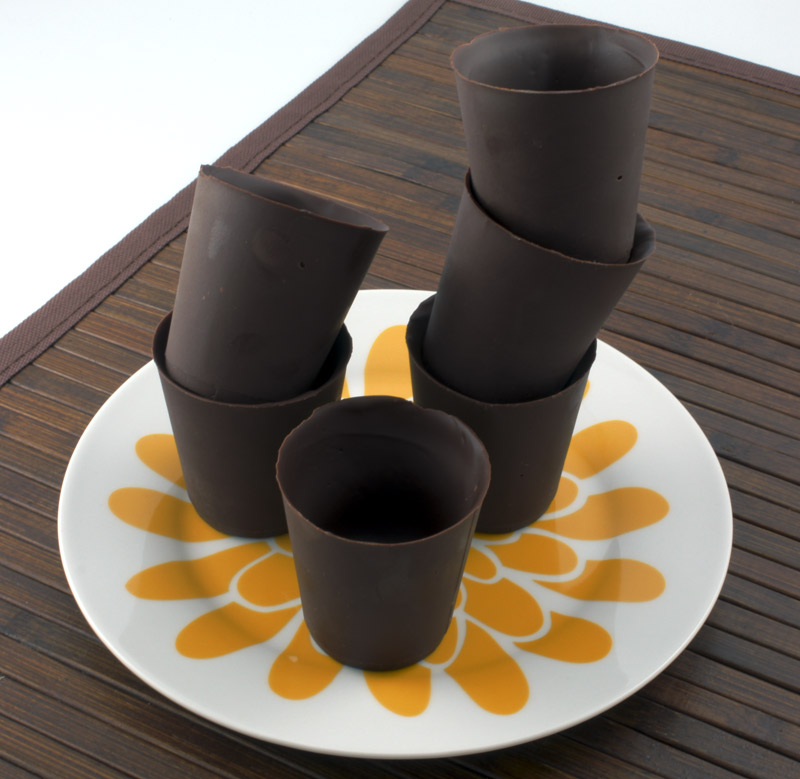
*Special Equipment: Disposable Plastic Cups
Makes 6 mini cups (dixie cup size)
Please note – Thicker cups will keep iced desserts cooler for longer.
- 1 package (326 g) ghirardelli semi-sweet chocolate chips
- Melt chocolate in a heatproof bowl over a pan of simmering water.
- Trim the plastic cups to the height you require and fill them to the brim with melted chocolate.
- Pour out the excess chocolate. Chill the coated cups to set while you make the others. Stir the bowlful of chocolate now and again to keep it from setting.
- Repeat until your cups reach the thickness you require. Level the rim with a spatula. Chill to set and remove from the plastic cup, cutting it off if necessary.
Tags: Baking & Pastry, chocolate cups, custards, edible containers, ice cream, mint chocolate chip ice cream, waffle cones, waffle cups
Posted in Baking & Pastry, Baking Mise en Place, Custards, Creams & Mousses, Fillings, Frostings & Dessert Sauces, Pastry Doughs & Batter, Recipes
Comments (15)
 Subscribe
June 3rd, 2010 at 4:19 pm
I really need to get an ice cream maker. This looks fabulous.
June 3rd, 2010 at 4:22 pm
This looks AMAZING. I love your photos. The chocolate cups are a particularly great idea. You’ve convinced me I need some sort of waffle cone iron too.
June 3rd, 2010 at 7:45 pm
Ooooh your killing me! This is fantastic! My kids are bugging me to make more icecream. My daughter loves cookies dough icecream but I think this would be my son’s fav!
June 3rd, 2010 at 11:42 pm
Drew, I can’t believe I let mine sit in the storage room unused for so long, I may even get a second attachment, it’s a bit of a pain because the bowl must sit in the freezer for 15 hours in between batches.
June 3rd, 2010 at 11:43 pm
Thank you, I used a pizzelle iron, I may try it next time with the waffle iron, they may be too thick but I think I would like to give it a go and see what happens.
June 3rd, 2010 at 11:44 pm
Mmm, cookie dough sounds really good. If you try it I would love the recipe. I am going to be hunting for the Birthday Cake recipe from Marble Slab or at least the ingredients so I can try and replicate it, it’s Liana’s (my daughter) favourite.
June 4th, 2010 at 12:27 am
What an incredible idea to make chocolate “bowls” out of plastic cups. I love it! By the way, I think we have the same green place mats. I swear I have some that look just like that. But I think yours looks better…maybe because you have a yummy mint ice cream cone on it!
June 4th, 2010 at 1:01 am
The solid green or the green & blue? I am trying to remember where I picked mine up, where did you get yours? Marly I was so proud of myself, first batch of ice cream and it was delicious.
June 4th, 2010 at 7:27 am
Did you find that the Kitchenaid ice cream attachment works well? I have been considering purchasing it for some time now, but can’t determine whether I should get the attachment or just a stand alone ice cream maker. The ice cream you made looks great!
June 4th, 2010 at 7:42 am
I think this is the time that I will finally buy an ice cream maker!
June 4th, 2010 at 8:21 am
Hi Eddie, it was the first time I used it and it worked perfectly. Really easy to assemble. I am thinking of getting another one because you must freeze bowl for 15 hours before churning a batch of ice cream and I believe you can only churn 2 quarts at a time.
June 4th, 2010 at 9:14 am
WOW!!! This looks so delicious! I have the same ice cream attachment and I’ve yet to use it. I’m intending on churning my first batch sometime this summer. If you ever need a second attachment, feel free to borrow mine.
June 4th, 2010 at 9:56 am
Everything looks so fabulous! I must try those waffle bowls!
June 4th, 2010 at 10:55 am
You are so sweet Alexis, sounds like you’ve the done the same thing as I did with my attachment. Wait till you make your first batch, you’ll want to make all kinds of different ice creams. I am on the big kick now.
June 4th, 2010 at 10:56 am
Thank you Melitta, you are going to love them, so crispy & delicious!